Soundproofing Your
Home Recording Studio
Alright, so you’re into music, podcasting, or gaming, and you want that professional audio studio vibe all from the comfort of your own home. You know that having a quiet and distraction-free environment is crucial for producing top-notch recordings. Soundproofing is the name of the game, my friend. By reducing outside noise and keeping your sound contained within your recording space, you’ll create a controlled and professional-sounding audio haven.
But how do you go about it? With over 25 years of experience in recording across various room sizes, studios, and booths, we can confidently guide you through the basics of soundproofing a home studio. We’ll cover everything from understanding soundproofing principles and acoustics to selecting the right materials for your space. Plus, we’ll talk about the benefits of acoustic treatment, which enhances sound quality and reduces echo. Whether you’re a beginner or looking to upgrade your existing setup, this guide has got you covered with valuable information to create a killer recording environment.
Why should you soundproof your studio?
As we briefly touched on above soundproofing your home studio is essential for achieving high-quality recordings and maintaining a professional environment. Without proper soundproofing, outside noise can easily enter your recording space, causing unwanted distractions and affecting the quality of your recordings. Similarly, sound can easily travel out of your space, potentially disturbing neighbors or family members. There is however a difference between acoustic treatment and soundproofing. We will get to that a little later. Your main goal is to get the best possible neutral sound as possible from being able to comply with local noise ordinances and maintain good relationships with neighbors and other members of your community (or wife).
Table Of Contents:
Soundproofing Benefits
Improved recordings
Noise reduction
Better acoustics
Enhanced creativity
Professional quality
Better sound


Understanding Soundproofing & acoustics
Before we dive into the specifics of soundproofing a home studio, it’s important to understand the difference between soundproofing and acoustic treatment. While the two terms are often used interchangeably, they actually refer to different aspects of creating a good recording environment.
Soundproofing focuses on reducing the transmission of sound from one space to another. This involves measures like adding insulation, sealing gaps and cracks, and installing sound-absorbing materials to reduce external noise.
Acoustic treatment, on the other hand, involves improving the sound quality within a space by controlling the way sound waves behave. This can include adding sound-absorbing materials to reduce echo and reverberation, as well as diffusers and bass traps to improve sound clarity and balance.
To understand how soundproofing and acoustic treatment work together, it’s helpful to have a basic understanding of acoustic principles. Sound is a form of energy that travels in waves, and can be reflected, absorbed, or transmitted through different materials. Reflection occurs when sound waves bounce off surfaces, while absorption occurs when the waves are absorbed by materials such as foam, fiberglass, or carpeting. Transmission occurs when sound waves pass through materials such as walls or windows.
By understanding these principles, you can better identify the sources of unwanted noise and select the appropriate soundproofing and acoustic treatment materials to address them.
How to soundproof your studio

Soundproofing your home studio is essential for achieving high-quality recordings and maintaining a professional environment.
Simple things to start room treatment:
Seal gaps and cracks: One of the easiest ways to reduce noise transmission is to seal gaps and cracks in doors, windows, walls, and floors. You can use weatherstripping, acoustic caulk, or acoustic sealant to fill these gaps and create a more airtight space.
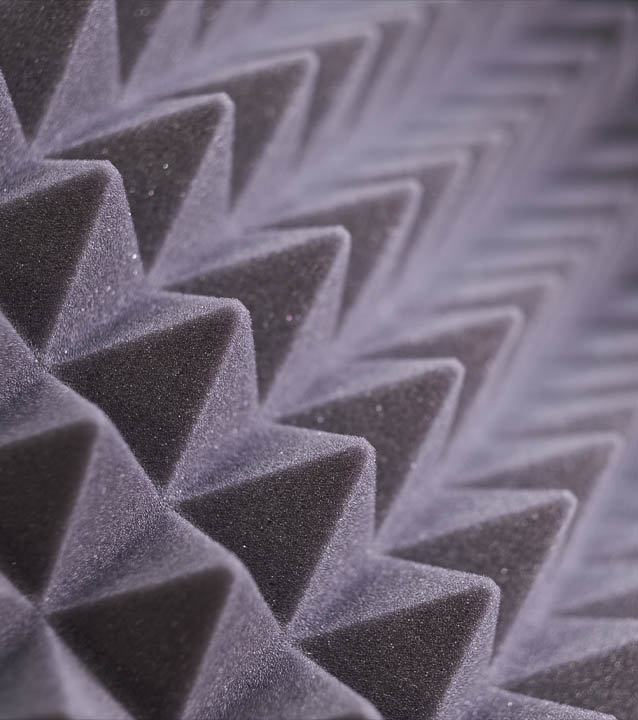
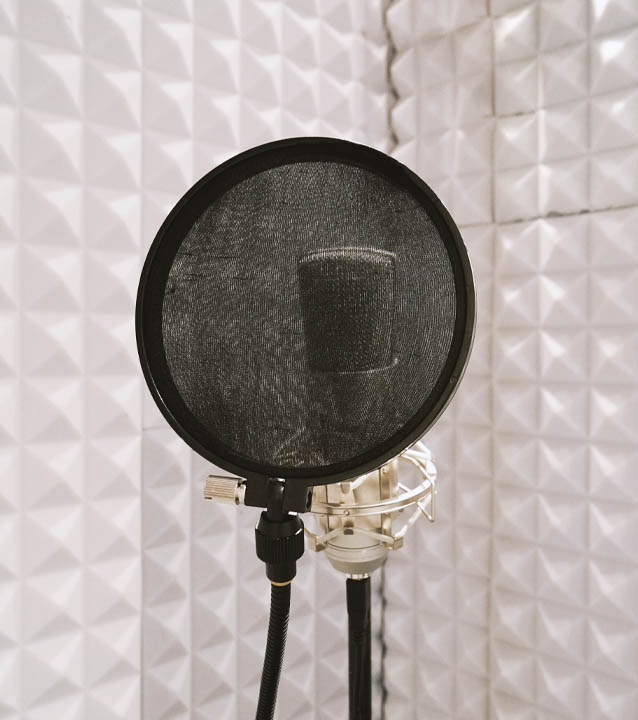
Use soundproofing materials: Installing soundproofing materials such as acoustic panels, bass traps, and soundproof curtains can help absorb and reduce the transmission of sound waves. These materials can be purchased from music equipment retailers or online, or you can make your own DIY soundproofing panels using materials such as fiberglass insulation or mass loaded vinyl.
Consider room layout and design: The layout and design of your room can have a significant impact on the transmission of sound waves. For example, arranging furniture and equipment strategically and using acoustic diffusers can help scatter sound waves and reduce reverberation.
A key factor is understanding what parts of the room need acoustic treatment:
Listen to your room: Spend some time in your room and listen to the sound of your voice or instrument. Pay attention to the reflections and reverberations in the room, as well as any echoes or unwanted sounds.
Use acoustic measurement tools: You can use acoustic measurement tools such as a sound level meter or a frequency analyzer to measure the levels of sound and identify problem areas. Sonarworks SoundID is an amazing treatment tool and relatively in-expensive. Giving you realtime feedback on how to treat your room based on your acoustics, your speakers and setup.
Teating reverb and low-end rumble:
Use acoustic panels: Acoustic panels can help absorb and reduce reverb in your room. Place them on walls, ceilings, and corners where reflections are most noticeable.
Use bass traps: Bass traps are designed to absorb low-frequency sound waves that can create a rumbling effect in your room. Place them in corners and other areas where bass tends to accumulate.
Use rugs or carpeting: Adding rugs or carpeting to your floor can help absorb sound and reduce reverb in your room.
Overall, there are many different methods and techniques for soundproofing and acoustic treatment, and the best approach will depend on your specific needs and the characteristics of your room. By carefully evaluating your space and experimenting with different solutions, you can create a more controlled and professional recording environment.
Having treated multiple home studios over the years the common question I get asked is “how can you soundproof my studio cheaply?”. The answer varies on room size and things like walls, flooring, monitors etc.
A great place to start is with DIY soundproofing panels. You can make your own soundproofing panels using materials such as fiberglass insulation, rockwool, or acoustic foam. These materials can be purchased at a hardware or home improvement store and cut to size to fit in a frame made from wood or PVC pipes. There are many online tutorials and guides available to help you make your own soundproofing panels. Who knows maybe we will put one together ouselves in a video soon.
You can always repurpose household items, such as blankets, mattresses, or egg cartons to create a makeshift sound barrier. For example, you can hang blankets on walls or ceilings to absorb sound, or place egg cartons on walls to scatter sound waves. It might look like a farm house but it will make small improvements.
Look to seal gaps and cracks. One of the easiest and most cost-effective ways to reduce noise transmission is to seal gaps and cracks in doors, windows, walls, and floors. You can use weatherstripping, acoustic caulk, or acoustic sealant to fill these gaps and create a more airtight space. If you have a little extra money use soundproof curtains. The curtains are designed to absorb sound and reduce outside noise. They are available in many sizes and styles and can be hung on windows or used as room dividers to create a more soundproof environment. Which is great if you’re renting.
Lastly one of the easiest things that can make a difference is to rearrange furniture. The layout of your room can have a significant impact on the transmission of sound waves. By rearranging furniture and equipment strategically, you can help reduce the transmission of sound and create a more controlled recording environment.
Overall, there are many cost-effective ways to get soundproofing done in your home studio, and the best approach will depend on your specific needs and budget. With some creativity and experimentation, you can create a more professional and controlled recording environment without breaking the bank.
Conclusion
Is it worth it?
Let’s ruffle some more feathers. Yes and No. If you are set in stone that you want the full studio vibe at home and you are planning on staying in that home for the future then have at it. It’s one of the most enjoyable things to have a space dedicated to music production. But it comes at a price. Just like music equipment itself you could quite easily run up quite the bill. Which is where the No comes in. The advances in studio headphones and value for money that can be had is almost a no brainer. We have a great article that breakdowns studio monitors vs headphones. Check it out.
As someone who uses both high quality production headphones and studio montiors they really are quite amazing. If you are moving around buy some great re-invest the money on more studio gear lol. Another guitar or synth will probably help the overall music production value that breaking the bank on accoustic treatment. Or do alittle of both, there is no right or wrong and remember Rome wasn’t built in a day. Take your time and make that studio your own!
Contact
Our Team
team@cobwebaudio.com
Enquiries
613-706-0472
Site Navigation
DAW & Recording
Instruments & Equipment
Software & Plugins
Guides
Our INFO
Privacy Policy
About Us
Advertise On Cob Web Audio
Sponsored Content
Sitemap


